
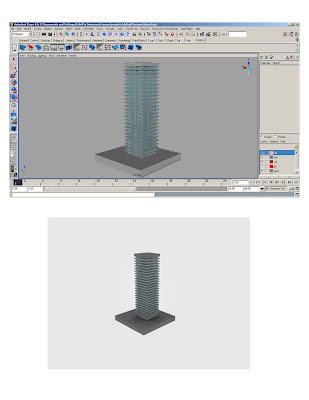
SLABS
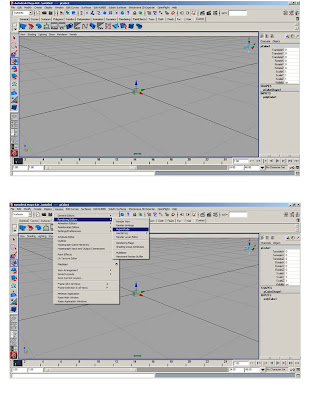
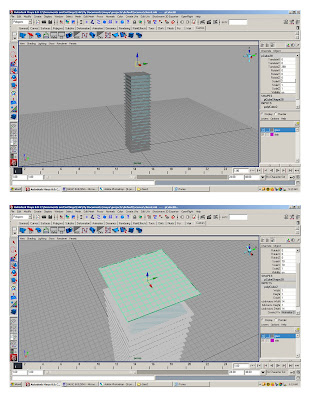
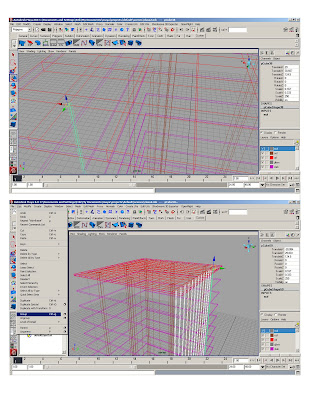
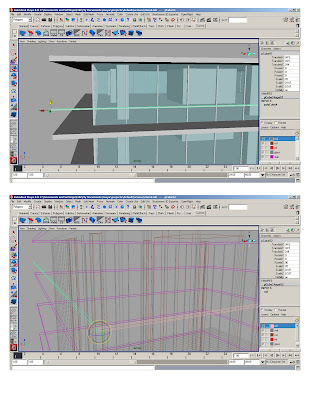
* Scene setting: Units, axis, cameras clipping planes, layers.
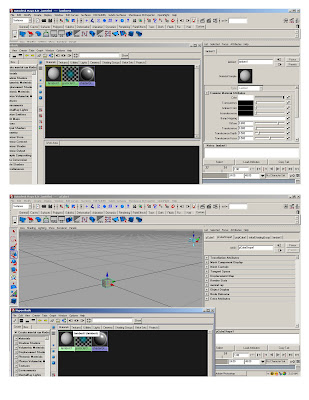
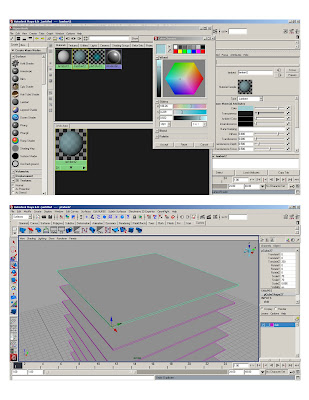
*Custom shelf- hold cntrl + shift while selecting*Basic hypershader – initial lambert to white
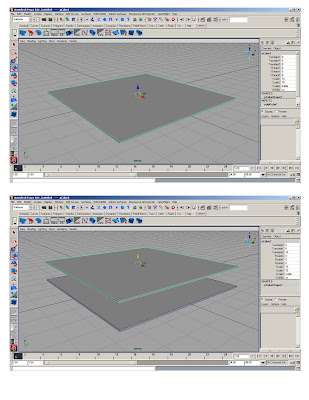
* polygon>cube> 1x1x1; scale polycube to 70’x70’
* Duplicate (ctrl+d)* Smart transform (moving 10' up)
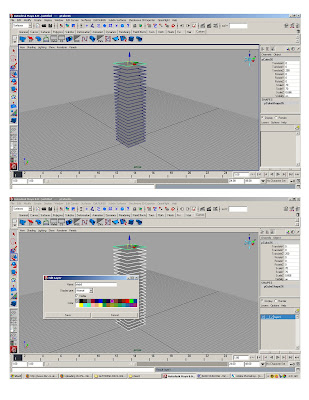
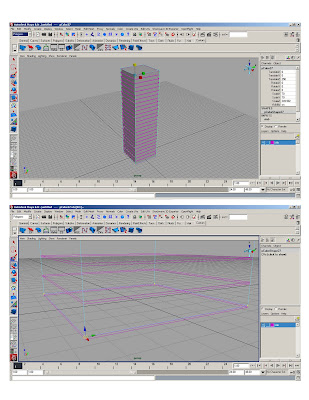
* Duplicate original slab 25 times
* Assign to layer1- rename layer “slabs”
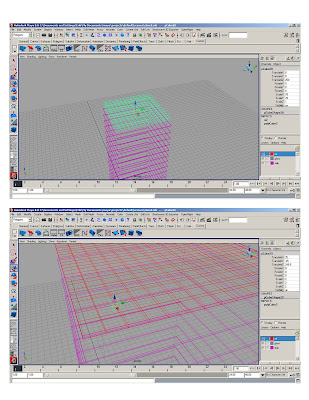
GLASS
*Create new ‘lambert’ in hypershader
* Adjust color and transparency
* Duplicate last slab to make glass planes
* Change pivot to scale down the glass cube
* Stretch glass cube using cv’s.
* Snap bottom face of glass cube to the top of first floor slab
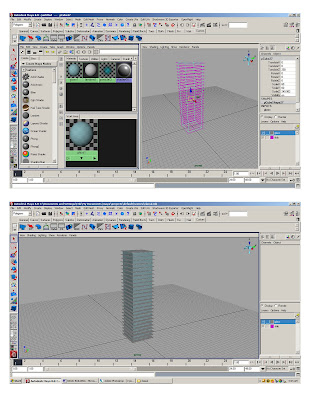
*Add new lambert to poly-cube
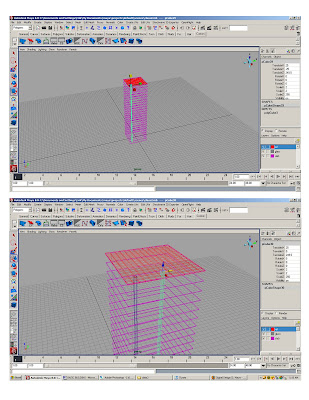
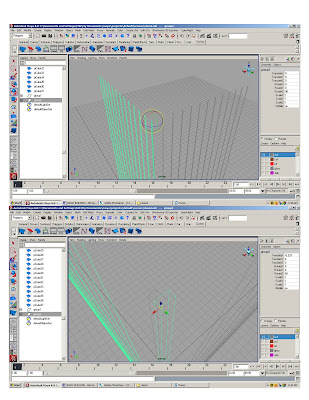
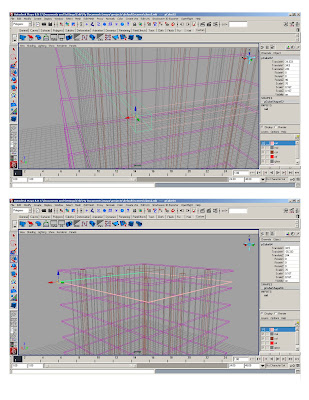
COLUMNS
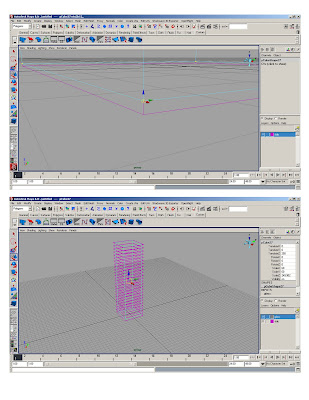
*Create reference polycube – gives us 5’ modules and assign it to a different layer
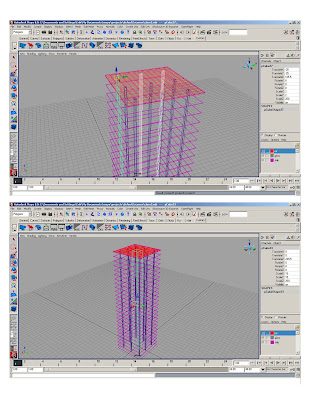
* Snap column polycube to reference polycube, scale to 2x2x2 and stretch cv’s to the ground. Snap top to the top slab.
*Duplicate and copy to form structural grid
*Stretch center column to make the core
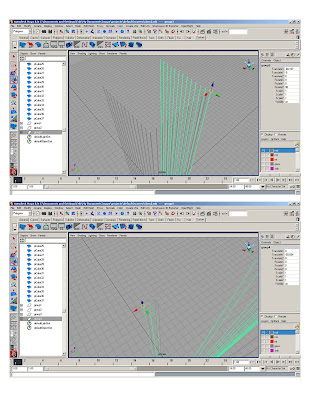
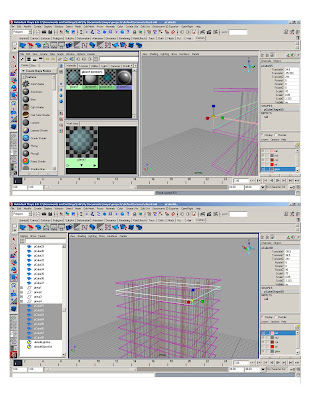
MULLIONS
* Take one column and change its layer
* Resize to 2x6”
* Snap to reference object every 5’
* Group mullions
* Duplicate mullions group and rotate 90 degrees
*Duplicate existing groups and translate to get opposite sides
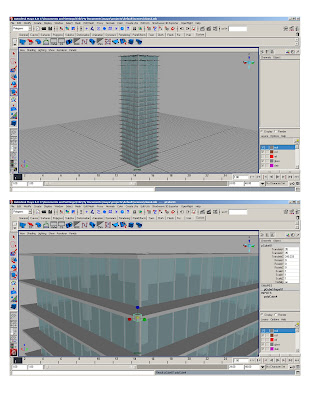
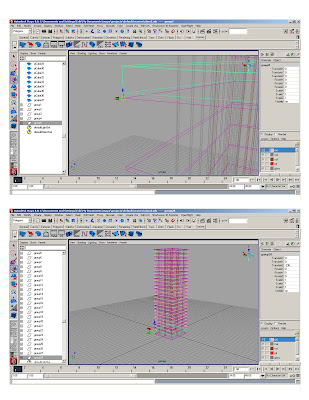
RAILINGS
*Duplicate any mullion
*Remove it from mullions group
*Resize it to 3.5’ x 0.083’
*Rotate and resize length of railing
* Change material (create glass material if it hasn’t been created)
*Duplicate railing and rotate*Duplicate, move and snap-align to make two missing railings
* Change pivot to one corner of the slab (for reference duplicates)
* Do a smart transform, move down and generate railings of all levelsWALLS
* Duplicate a column, resize and change layer
* Stretch to match desired dimensions.
* Duplicate & rotate 90 degreesVARIATIONS*Duplicate, stretch, scale, rotate and transform resulting geometry to achieve variations
No comments:
Post a Comment