
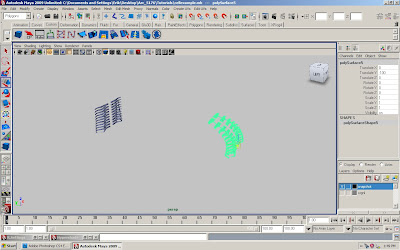
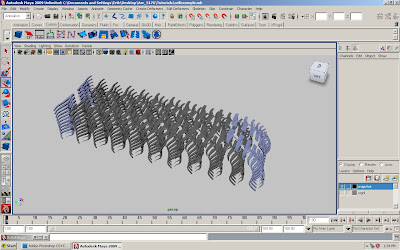
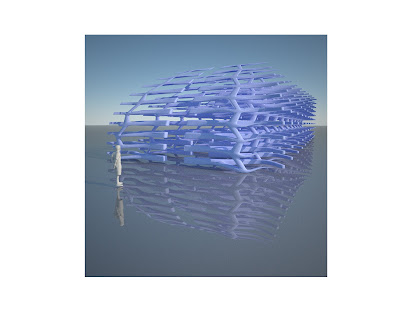
CELL PRIMITIVE
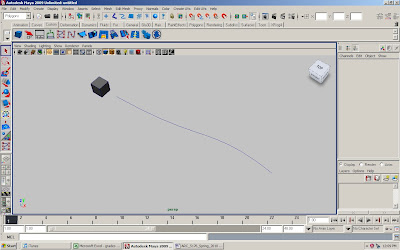
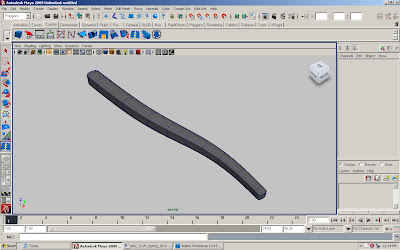
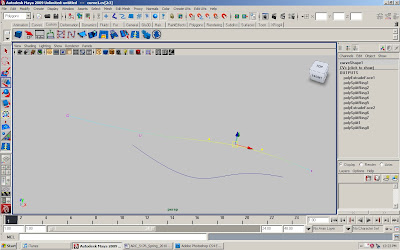
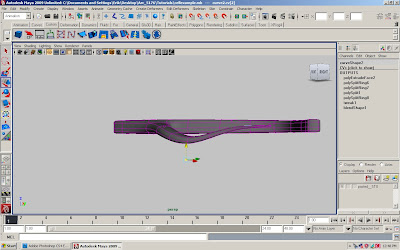
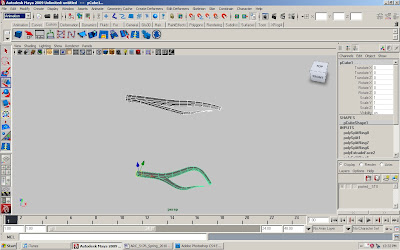
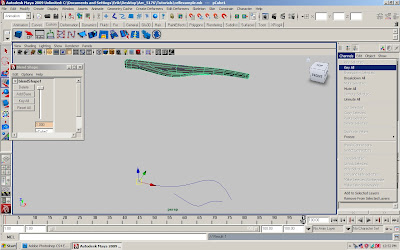
1. Create a polygon cube and a cv curve
2. select the face next to the curve and curve
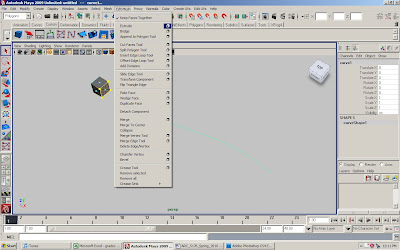
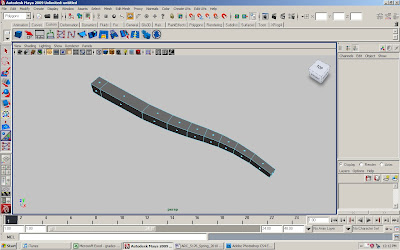
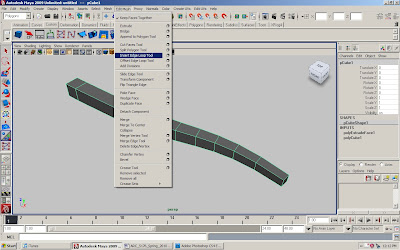
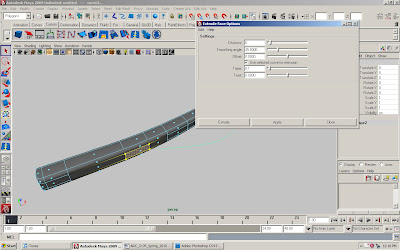
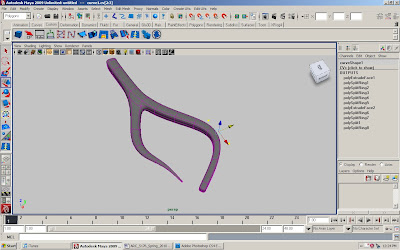
3. in the polygon menu, go to edit mesh > extrude and click on the box
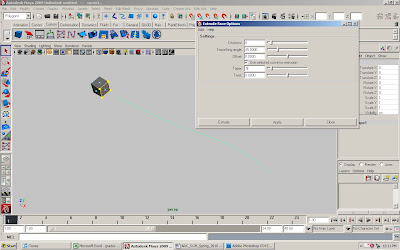
4. in the extrude face options box, divisions =8, offset= 0, select “ use selected curve for extrusion”, taper= .5 and twist= 0 , then press extruded
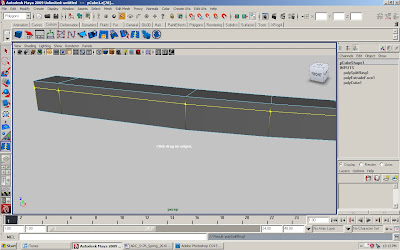
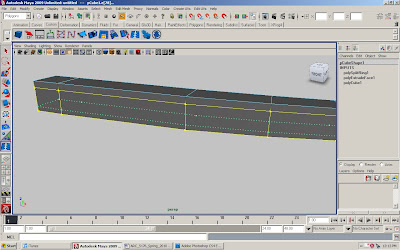
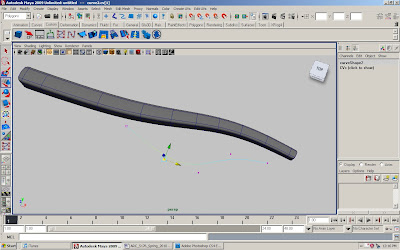
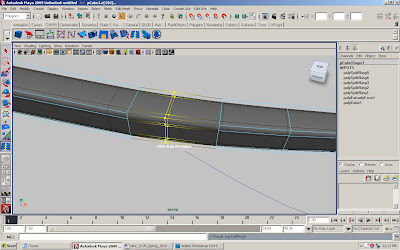
5. go to edit mesh > insert edge loop tool and create edges loops on the top and sides of the objects.
6. press 3 to see the smoothed surface
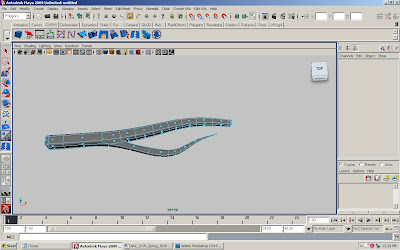
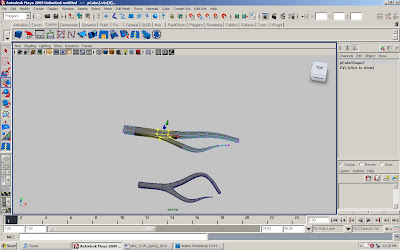
7. draw another cv curve along the side of the polygon primitive
8. subtly adjust the cv curve by its vertices in 3 dimensions
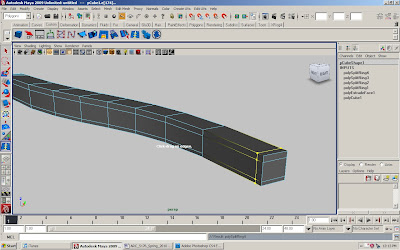
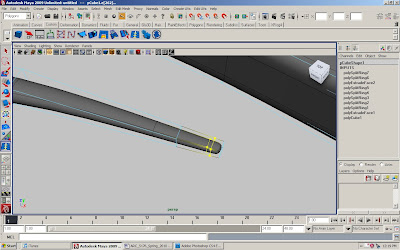
9. create a new edge loop adjacent to the end of the curve
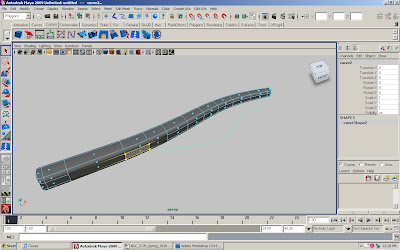
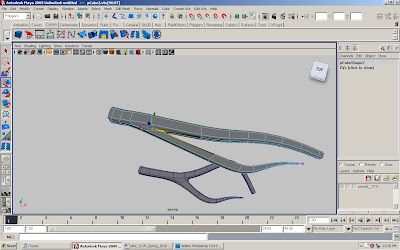
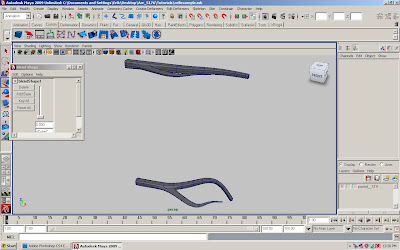
10. extrude the nearest face along the curve with multiple divisions and a tapper.
11. make new edge loops on the end of the extrusion, along with various adjustment to create a smooth continuous surface along the cell body
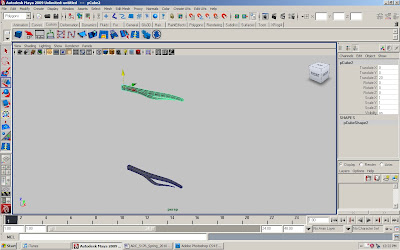
12. duplicate the cell and move up 20 or so ft
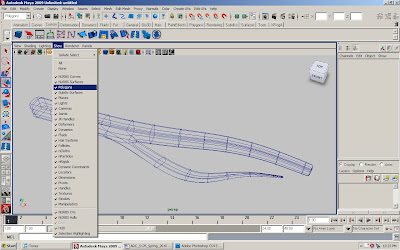
13. in the perspective window, go to ‘show’ and turn off the polygons
14. select the vertices of the curves and adjust them in various ways
15. while the curve vertices are selected, turn the polygons back on to make sure the geometries of the cell stay clean- no folds or surface discoloration
16. turn off and on the show polygons, when adjusting the cv curve
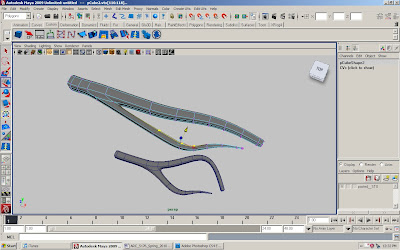
17. now adjust the vertices of the duplicated cell
18. make sure that both the original and duplicated cell have smooth clean geometry
BLEND SHAPE
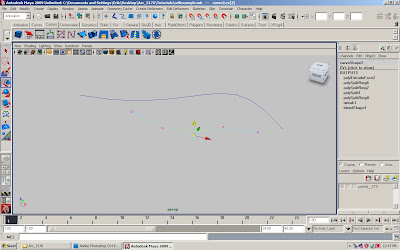
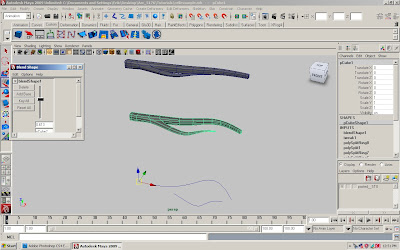
19. select both cells
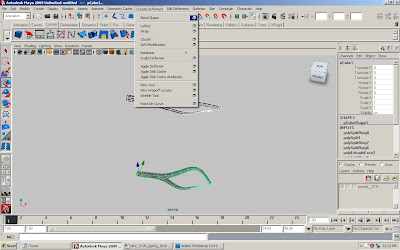
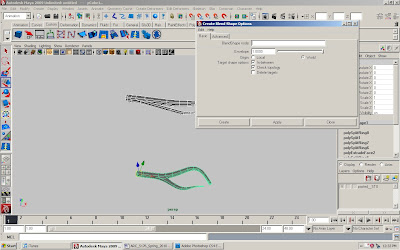
20. in the animation menu go to create deformer > blend shape click on the box, envelope= 1, origin= world, click on in-between and check topologies
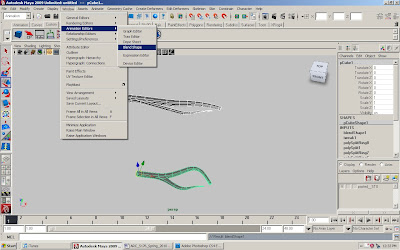
21. go to window> animation editors> blend shape (ctrl shift to make button in custom menu) move the slider to see the blend between the two cells
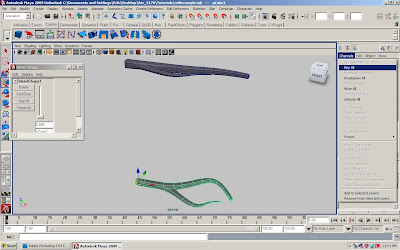
22. on the bottom of the screen change the frames from 24 to 100
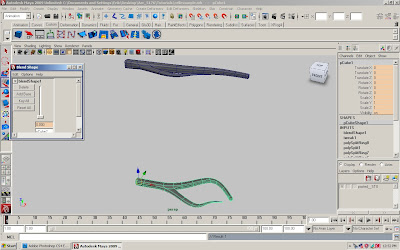
23. select the cell that moves when you move the blend shape and with no blend engaged key all in the channel editor, and key all in the blend shape window
24. move time slider from 1 to 100, move blend shape slider all the way up, and key all in the channel editor, and key all in the blend shape window
25. move time slider to see if the blend is animated
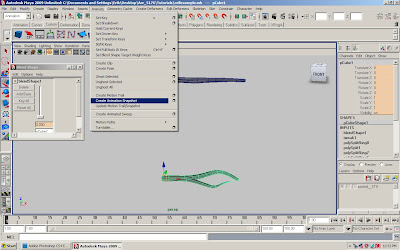
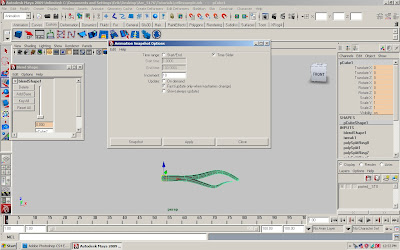
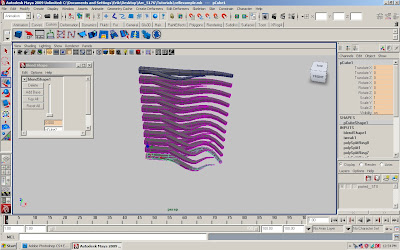
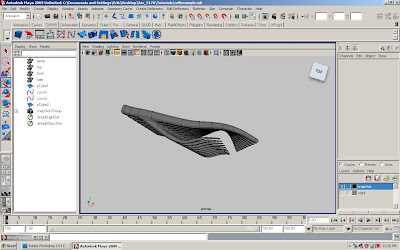
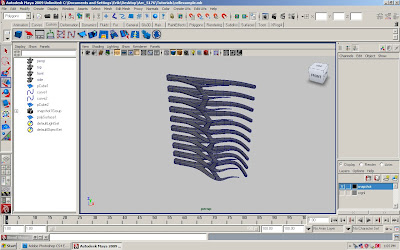
26. with the animated cell selected, go to animate> created animated snapshot click on the box, select time slider and increments of 10, fast update
AGGREGATE FORM
27. create a new layer and put the two original cells on the layer and turn it off
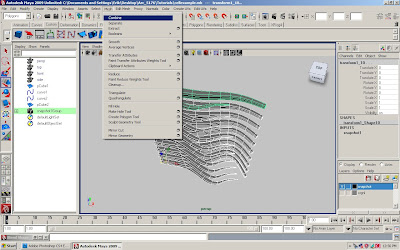
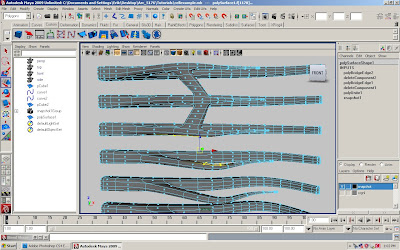
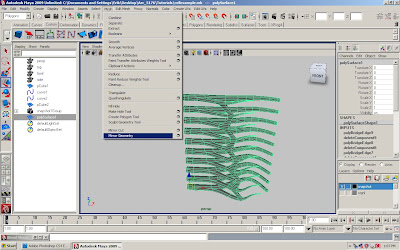
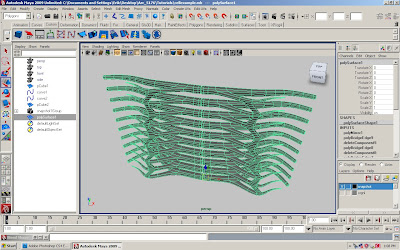
28. select the blended cells in the polygon menu got to mesh> combine
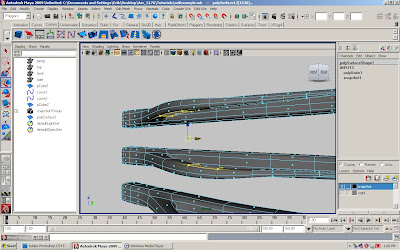
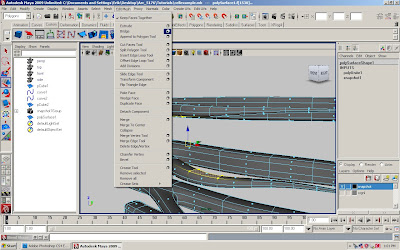
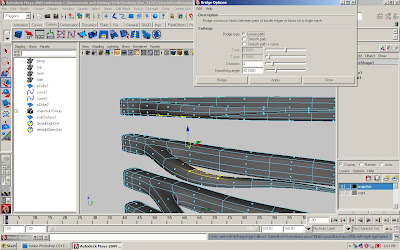
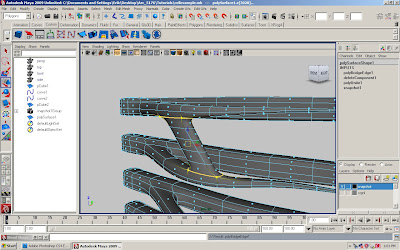
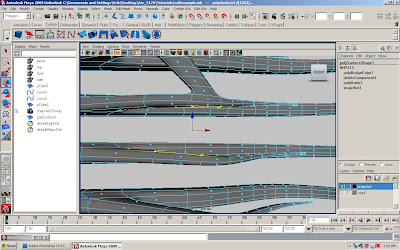
29. find two faces on adjacent cells and select them go to edit mesh> bridge and bridge the faces with a linear path and low division count.
30. repeat the bridging, creating structural and ornamental connections
31. mirror the geometry
32. copy the aggregated form
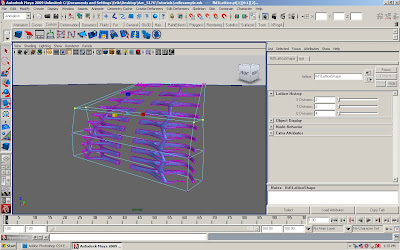
33. move several feet back and adjust with a lattice
34. blend with original
35. animate and create snapshot
36. render with maxwell
No comments:
Post a Comment