MAYA SOFTWARE:
Open the cube tutorial
Make a new cube and scale it on the x and y to 50’ by 50’, use it for a plane under the cubes
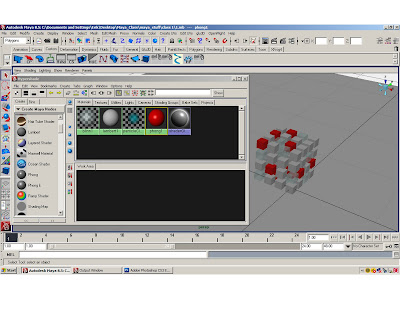
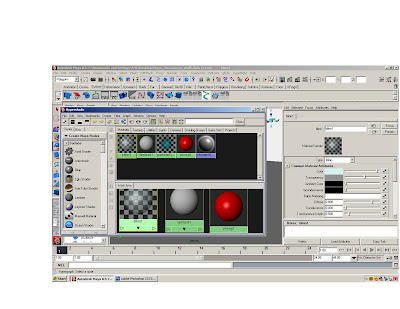
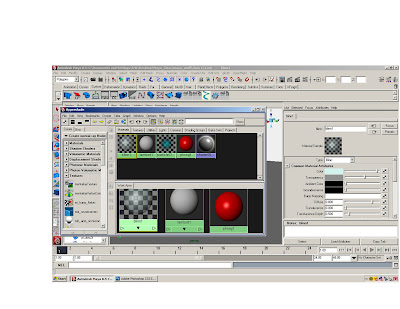
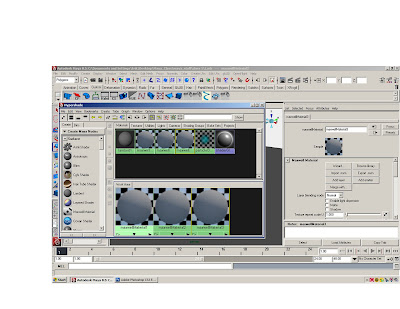
Open the hypershader and create a phong, blinn and lambert.
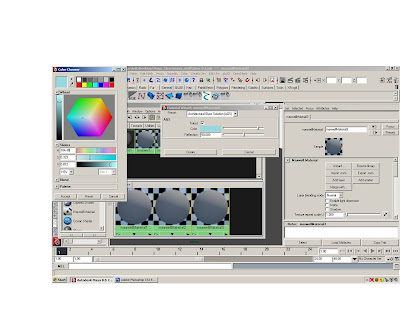
Adjust the colors and transparency of materials.
Apply the materials randomly to the cubes.
Import the GI lighting system.
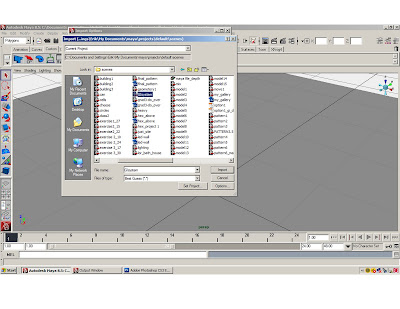
File>import>GI lighting system.
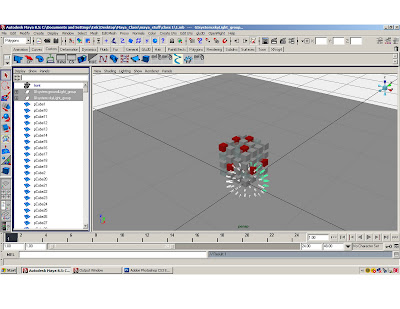
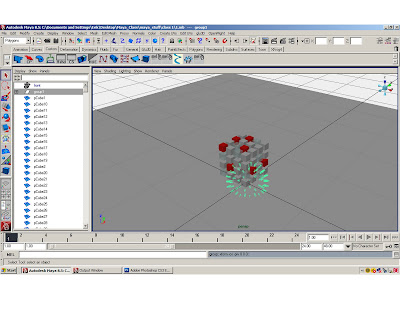
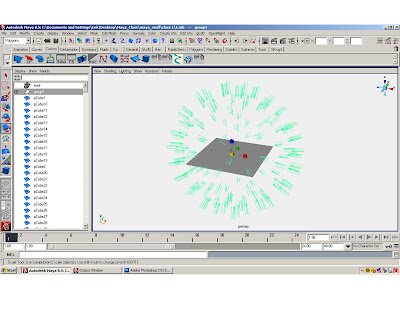
Select the imported GI lighting system groups in the options window and press ctrl G to group the GI Lights. Scale the lights out and surround the cubes.
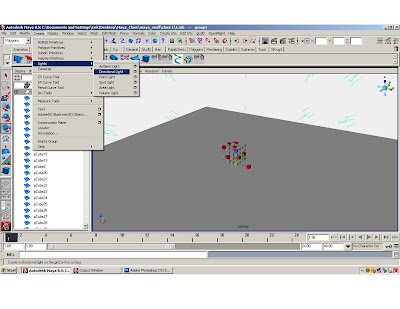
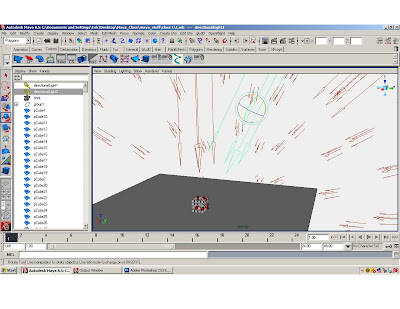
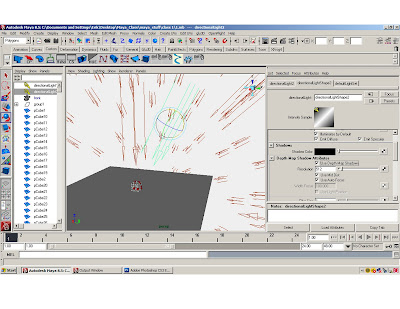
Create a directional light, scale it move it up and duplicate it. Move the duplicate light over and rotate it towards the cubes. Go to the attribute editor of the duplicate directional light, scroll down and open the shadow tab. Click on the ‘use depth map shadows’. Adjust the resolution to over 512.
Select the perspective camera in the option window, open the attribute editor for the camera, and open the environment tab. Adjust the color to white.
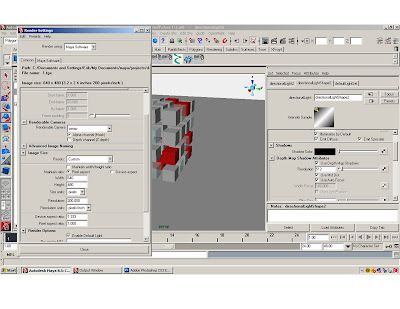
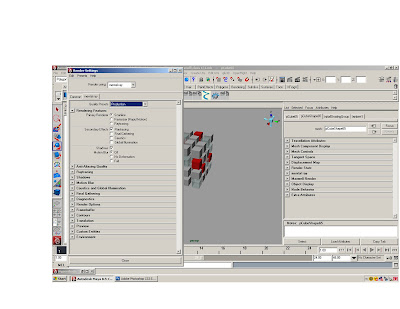
Open the render settings window.
Under the ‘common’ tab adjust the image size to 640x480, and adjust the resolution to 200.
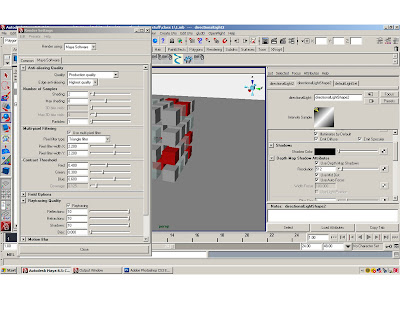
Under the Maya software tab, change the “quality’ to “production quality”, open the ray trace tab and click the ray trace box.
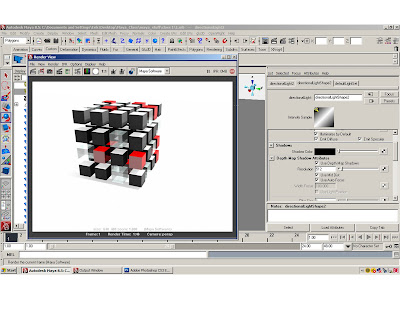
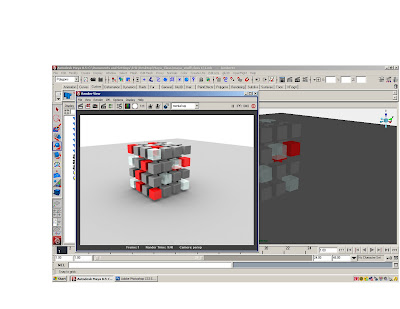
Render the scene
When the render is finished, save the render as a jpeg.
Save the file.
** If you want the polygon objects to render smoothed, you will need to smooth them in the mesh menu
AMBIENT OCULSSION:
Open the cube tutorial and make three new materials.
Adjust the color and transparency of materials.
Select the perspective camera in the option window, open the attribute editor for the camera, and open the environment tab. Adjust the color to white.
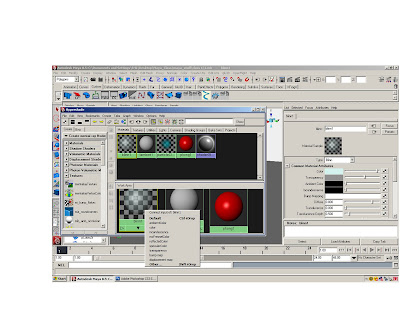
Right click the mouse on “crate maya node” box and select “create mental ray node”.
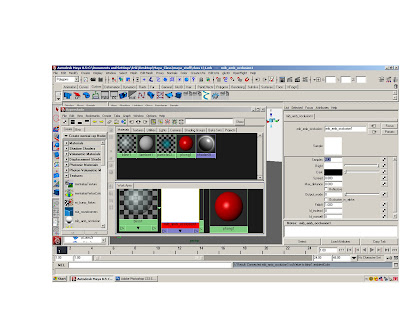
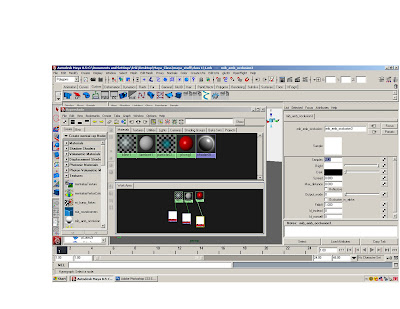
Open the “textures” tab, and middle click the mouse on “mb_amb_occlusion”, hold down the middle button, and drag over to one of the materials. Select “ambient color” from the list. Double click on the “mb_amb_occlusion”, and in the attribute editor increase the samples to 512. Repeat for all materials.
Apply the materials to the cubes.
Open the render settings window.
In the “render using:” box select “mental ray”
Under the ‘common’ tab adjust the image size to 640x480, and adjust the resolution to 200.
Click on the Mental Ray tab, and change the production preset box to “Production”
Render
Save render as jpeg.
Save file.
**In Mental Ray it is possable to render in subdivision proxy, this will give you smotthed objects. To do this go to Window > Rendering Editors > mental ray > Approximation Editor. Select everything you want to render smooth, then click on the create tab under the "Subdivisions" make sure the "DeriveFromMaya" is selected in the drop down menu.
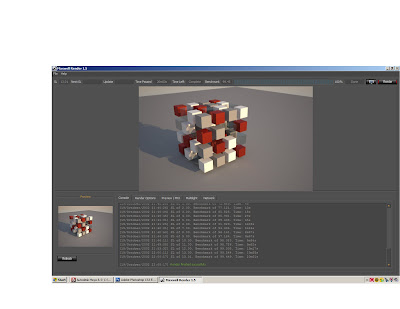
Maxwell rendering:
Open the cube tutorial
Make a new cube and scale it on the x and y to 50’ by 50’, use it for a plane under the cubes
Go to window> settings and preferences > plug-in manager and click on all the boxes, and click refresh.
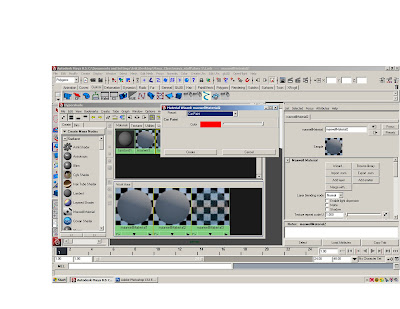
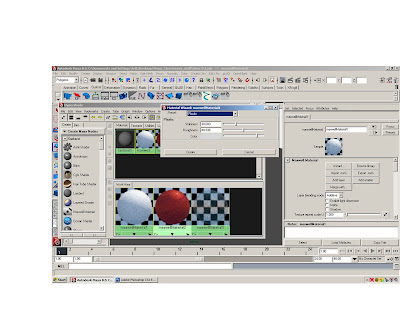
Open the hypershader and create three Maxwell materials.
Double click on the Maxwell materiasl and use the wizard to create a glass and car paint and plastic.
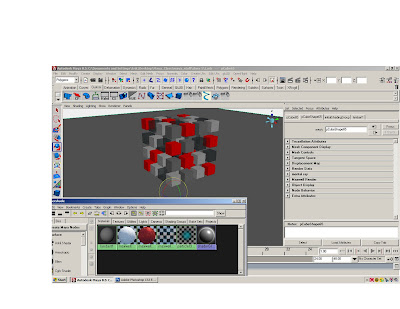
Apply the materials to the cubes.
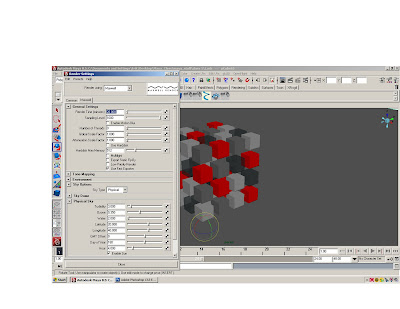
Open the render settings window.
In the “render using:” box select “Maxwell”
Under the ‘common’ tab adjust the image size to 640x480, and adjust the resolution to 200.
Click on the “Maxwell” tab.
Increase the time to 20 minutes
Increase the samples to 1000
Click on the “Environment” tab.
Click on sky options
The physical sky will create a realistic sky, and is controlled with the various controls.
At minimum adjust the hour and click on the enable sun.
The sky dome will create a blank background-- adjust the color.
Render the scene.
The Maxwell render window will start up. When it starts you can go back to the maya file and continue working.
When the Maxwell rendering is finished, save the file as a jpeg.
VECTOR RENDERING:
Select the perspective camera in the option window, open the attribute editor for the camera, and open the environment tab. Adjust the color to white.
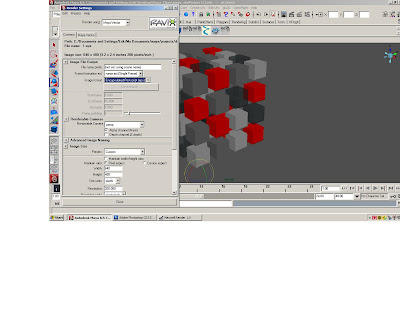
Open the render settings window and select Maya Vector in the render using box.
In the image format box, select “encapsulated postscript (eps)”.
Change the image size to the 320x240 preset, in the preset window.
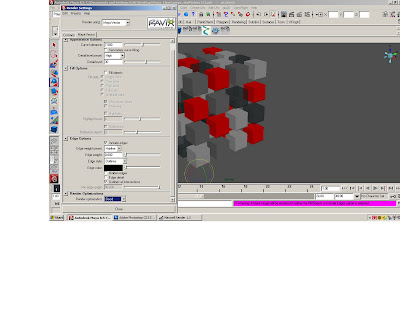
Click on the Maya Vector tab.
Change the “Detail level preset” window to “high”
Click the fill objects box off
Click the include edges box on
If you want to render the tessilation of the mesh, under the Edge Options> Edge Style> Entire Mesh
Change the “Render optimization” box to “Good”
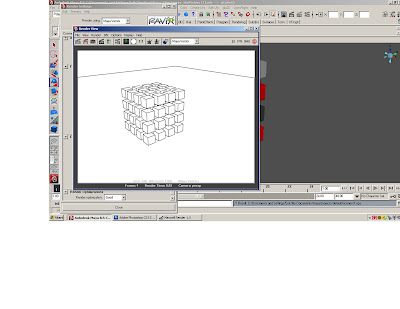
Render the scene.
If you want to render the polygon objects smooth, you must smooth them in the mesh menu.
When the render is complete you need to open the eps file in either Illustrator or Photoshop. The eps file will be deep in the Maya files and the path will be on the common tab of the render settings window.
It looks like this:
Path:C:/Documents and Settings/your name/Documents/maya/projects/default/scenes//
In Illustrator or Photoshop overlap the vector on other renders
Hi Erik, Where can we find the GI lighting, it seems not to be in the folder you gave us. Can you please post it in the blog or somewhere?
ReplyDeleteTy
Julia Q. & Cata A.