


In AutoCad
-From the Tado Ando dwgs, create a new AutoCad file with the plans sections and elevations.
-Scale the dwgs so the run of the stair = 1’
-Delete all fills
-Pruge, explode and overkill the dwgs
In Maya
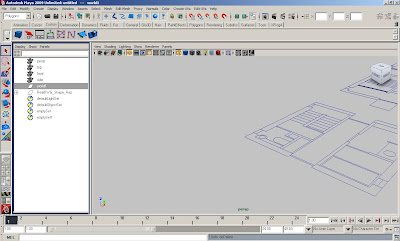
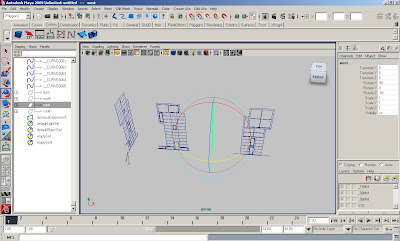
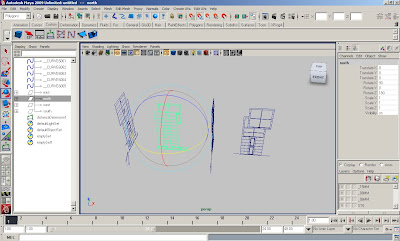
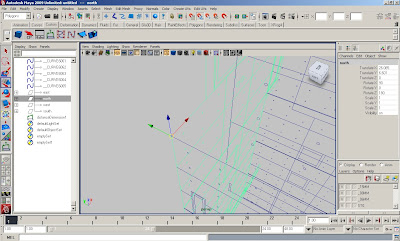
-Import dwgs
-Delete the group “world”
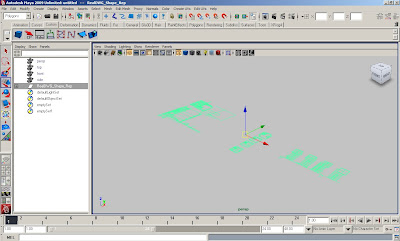
-Center pivot the dwgs at the group level
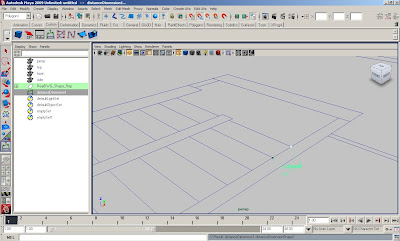
-Measure to see if the dwgs are to scale
-If the dwgs need to be scaled, scale on the group level by 2.54 on the x,y, and z
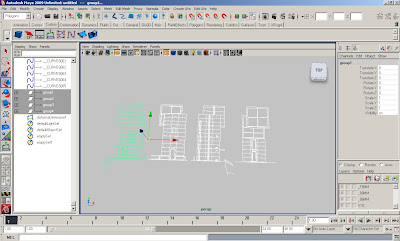
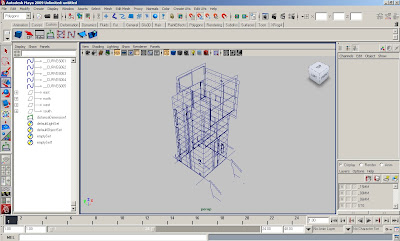
-Select each elevation separately and group them (ctrl g) group 1 is east, group2 is north, group 3 is west, and group 4 is south.
-Do the same for the plans and section.
- If the plans, sections and elevations are not in the same scale, you might need to scale the plans and sections so they mach the elevation dwgs (the correct dimensions are approximately 16.76’ across). You may need to scale the plans down to .8
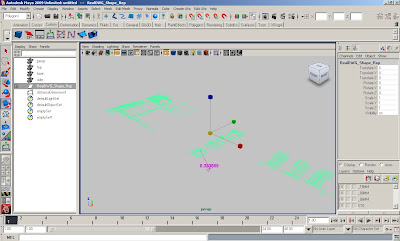
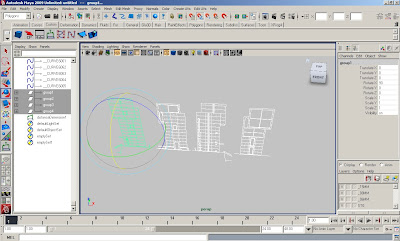
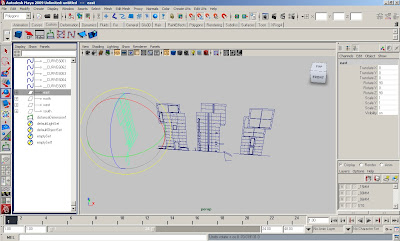
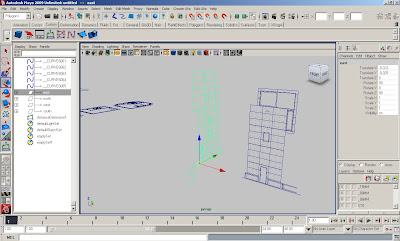
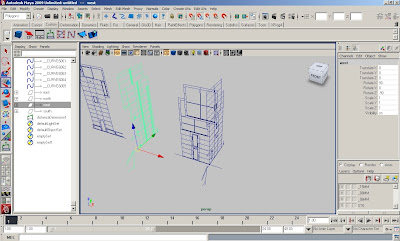
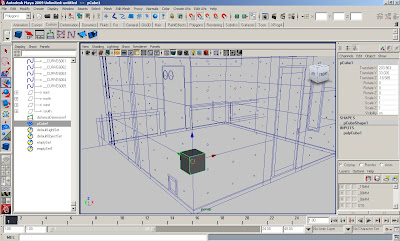
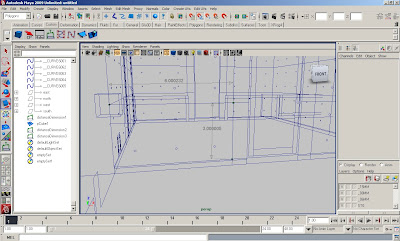
-With the snap to curve on, move the center pivot to the corners of the grouped elevation and Rotate and move each grouped elevation into place, creating a 3d dwg of the house.
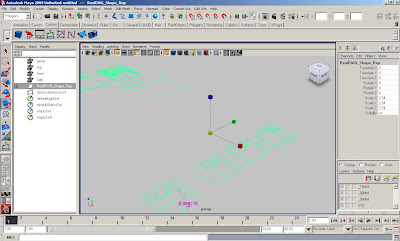
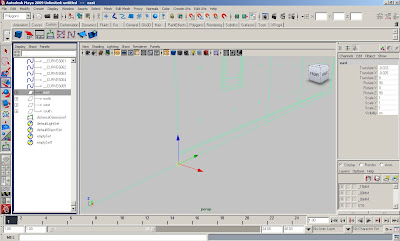
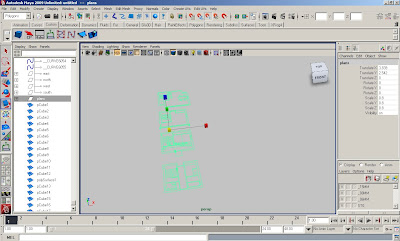
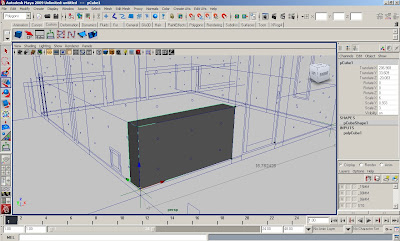
-Using separate cubes, build all pieces of the elevations separately, measure the height, width and thickness of each piece and in the channel editor enter the dimensions each cube with the x,y,z scale.
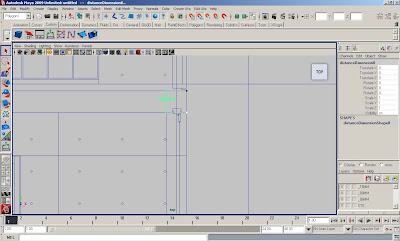
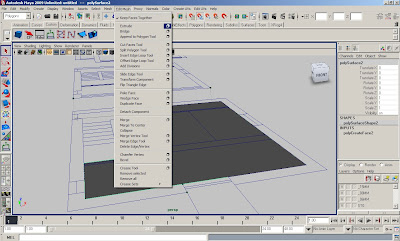
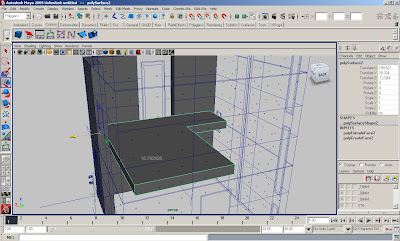
-Using the create polygon tool, trace each floor inside the wall, and around the stair well.
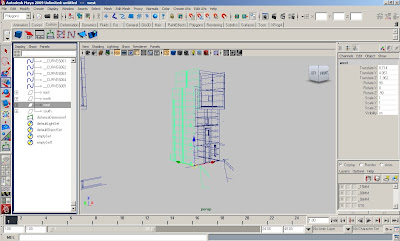
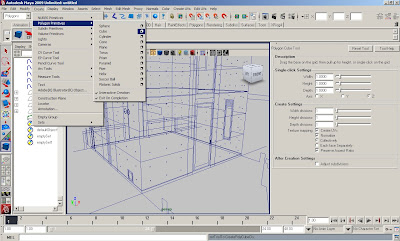
-Measure the thickness (height) of slab in the section dwg, Make new layer called elevations and put all the cubes on the layer.
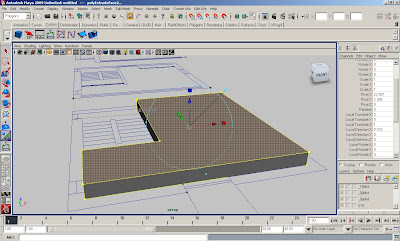
-Extrude the floor slabs. Make new layer called FL plans and put all the floor plans on the layer.
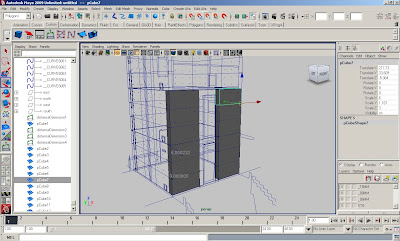
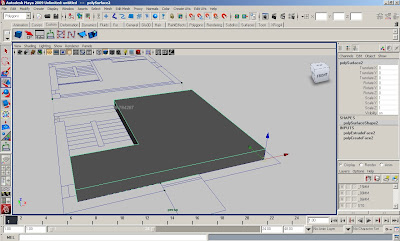
-Place floor slabs into place in working elevation dwg.
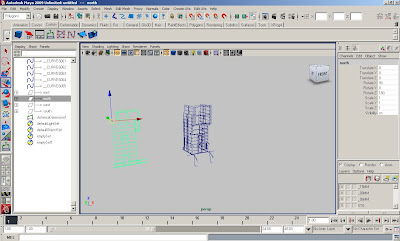
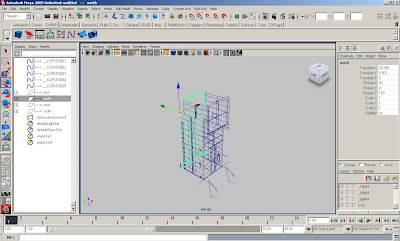
-Use these methods to complete the model.
-For this tutorial to be considered complete, all elevations, floor slabs, stairs, window frames, and outdoor stair and platform need to be modeled.


